


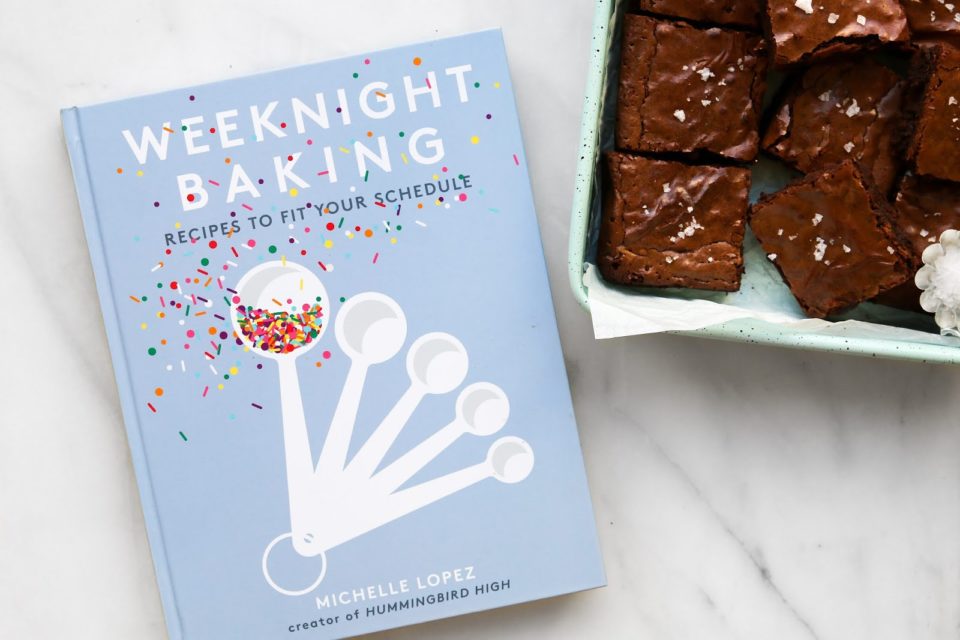
It is so exciting when I see my blogger friends release cookbooks and it is especially exciting when it is a book I have been anticipating even before the book announcement was made. This is the case with Michelle’s new book, Weeknight Baking. I first met Michelle of Hummingbird High a few years back when I visited San Francisco. I emailed her asking for a list of recommendations of places I should visit — the best bakeries, ice cream shops, restaurants, and coffeeshops I cannot miss during my 4 day stay in the city. Michelle responded to my email quickly and gave me the most detailed list. Her list included trying the liège waffles at Blue Bottle Coffee and ordering the lemon tart (her fav) from Tartine. We ended up getting those waffles she spoke highly of together and chatted about blogging while working full time and all things butter-sugar-flour. I remember asking Michelle if she would ever release a cookbook and she told me she wanted to have a solid theme for a book before she embarked on the cookbook writing process. Four years later, after many amazing recipes shared on her blog, Michelle’s new book that comes out today. Weeknight Baking is here! And I am SO happy that it is.
Today, I am sharing a few reasons why I love Weeknight Baking (besides the fact I love everything Michelle does):
1. It is filled with recipe that are, well, perfect for weeknight baking. The recipes are not fussy at all and the more labour-intensive recipes are broken down into parts that can be completed across several days or sessions. They recipes are made for those who work a full-time job and only have time outside of 9 – 5 to do their baking
2. So! Many! Photos! I do not need a cookbook to have a photo of every recipe…but I do need them. All the photos are shot by Michelle and feature her signature style you find on her blog. There are also very helpful step-by-step tutorials for things like rolling out pie crust
3. Really helpful conversion notes. Michelle lets you know how many cupcakes a sheet cake recipe makes and the baking time for the cupcakes if you are on team cupcakes > sheet cake for her peanut butter brown sugar cake recipe, which would be just as delicious in either form
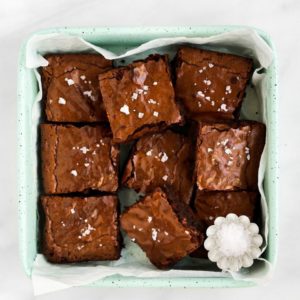
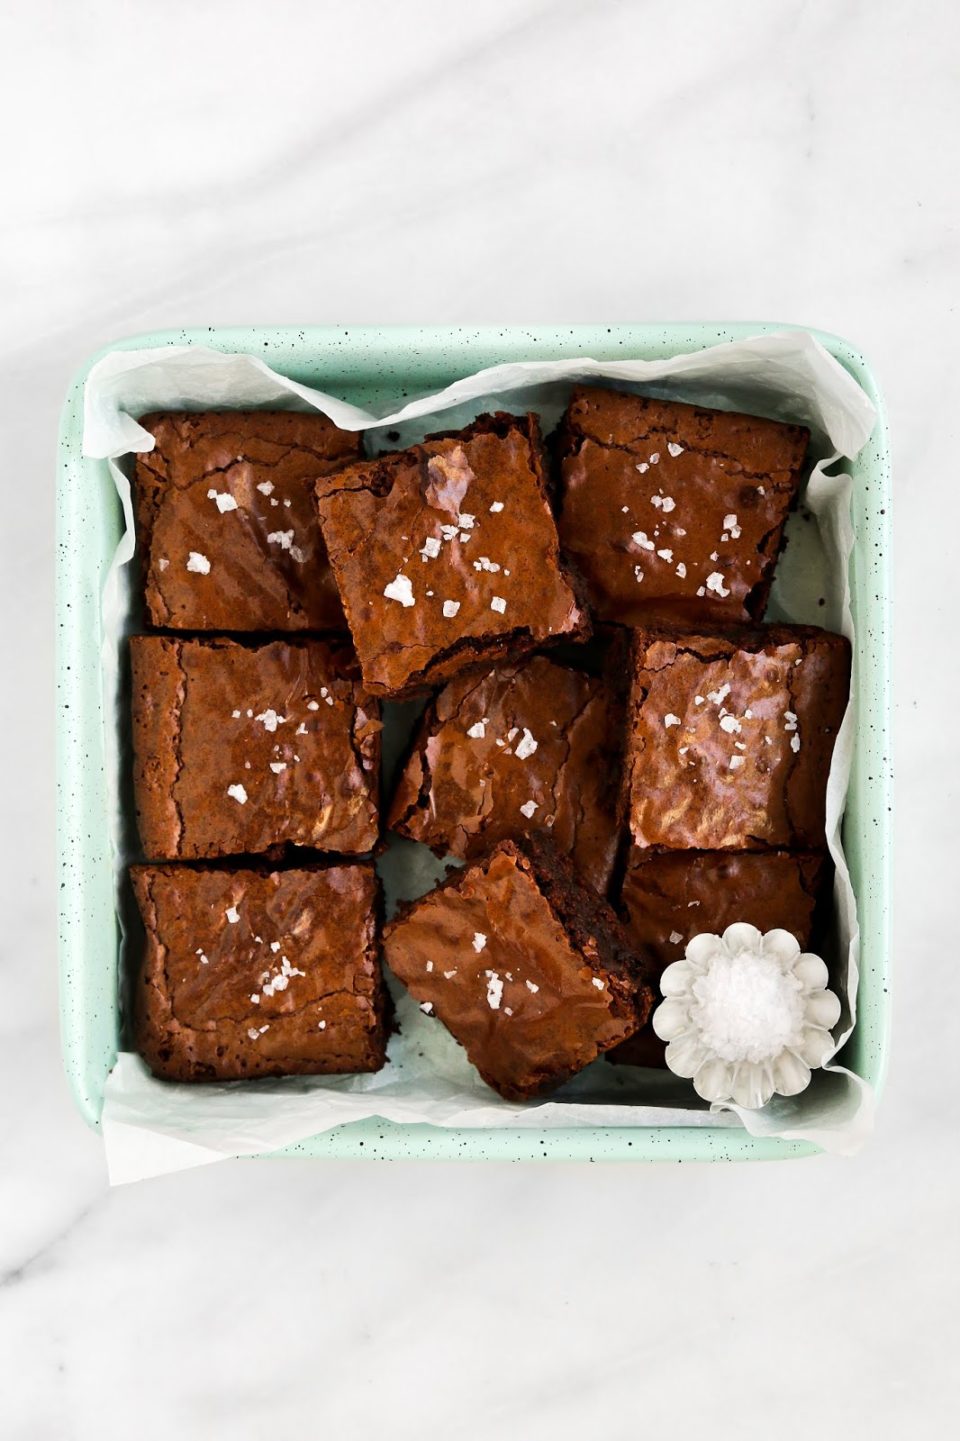
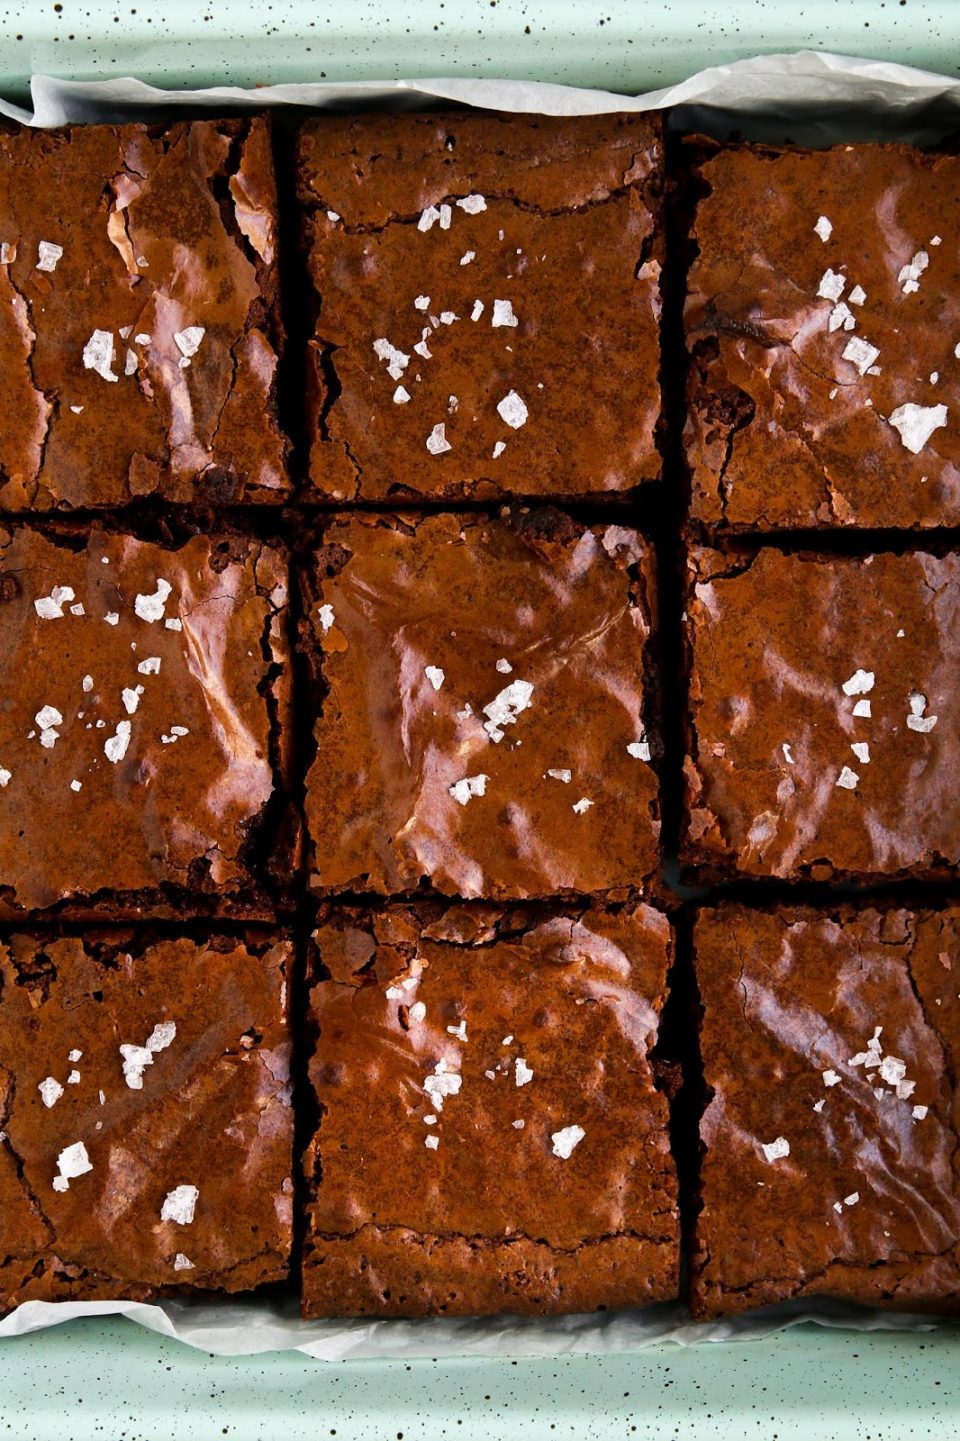
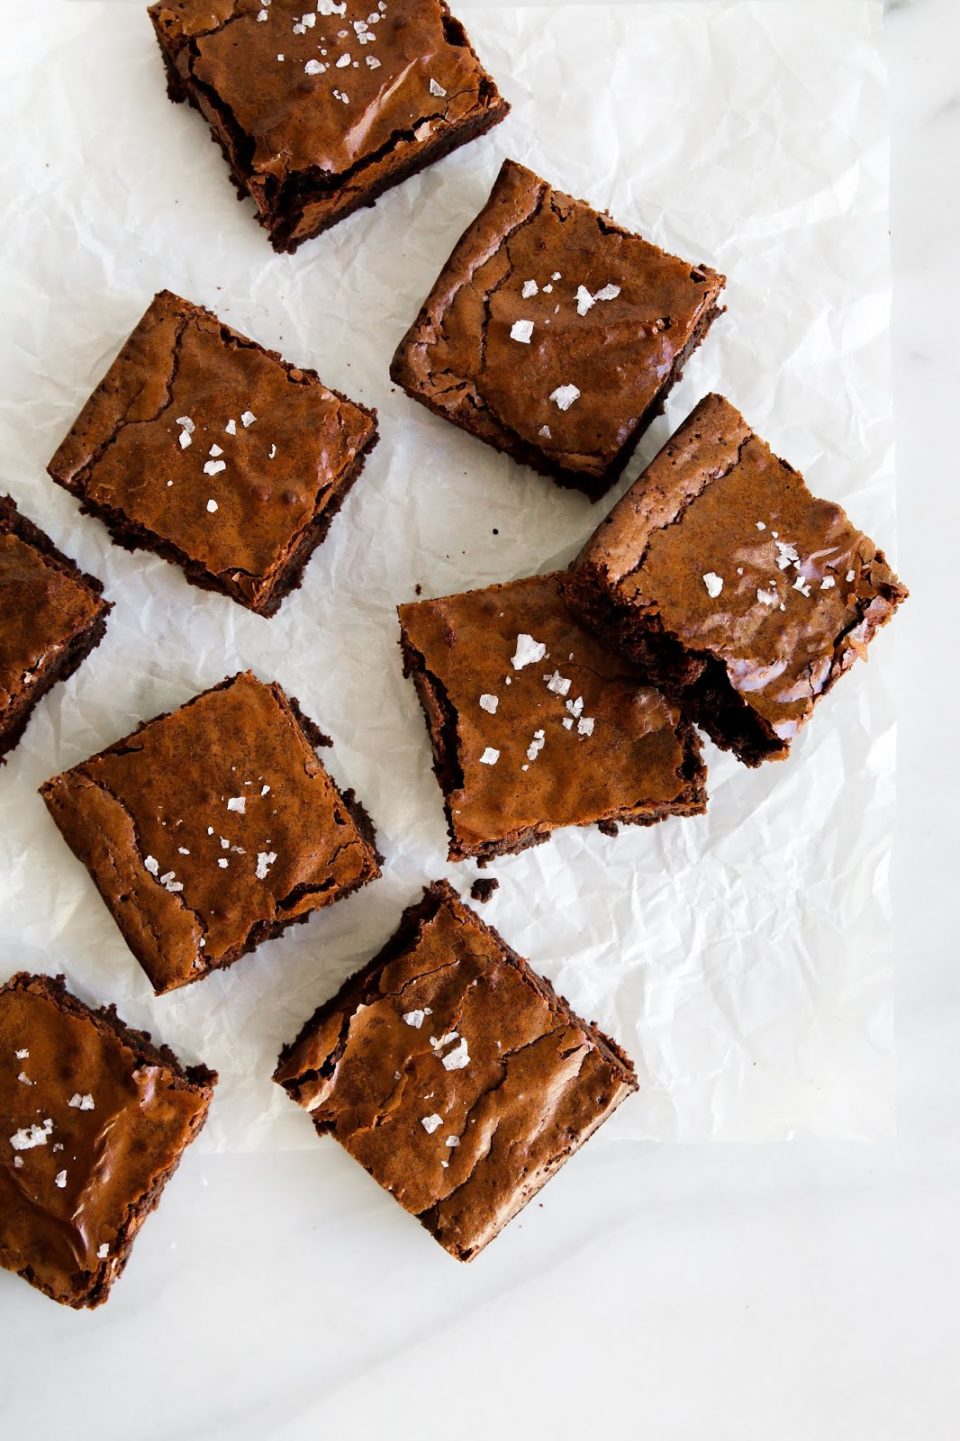
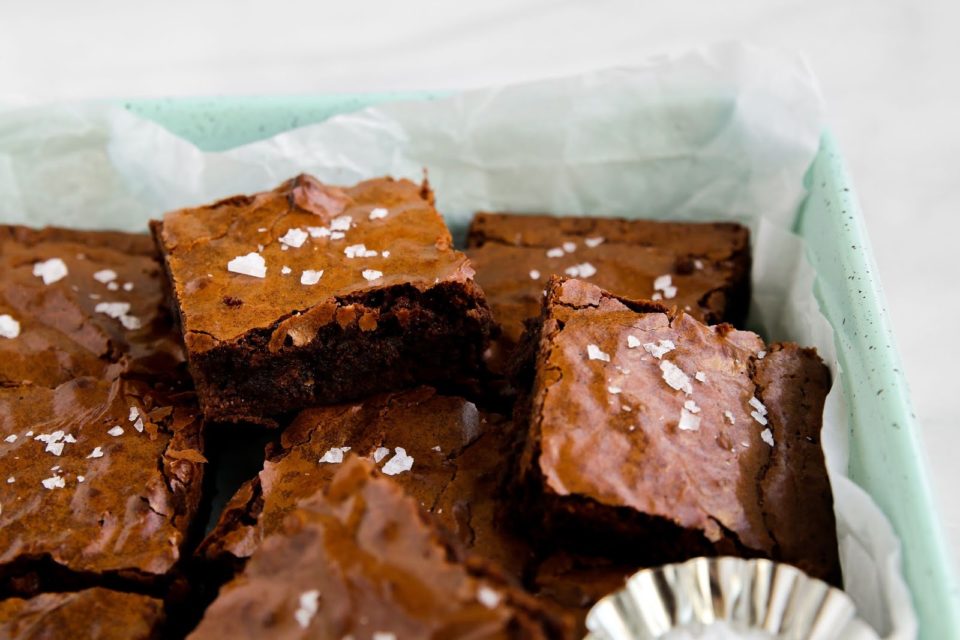
I am also sharing the first recipe I made from Weeknight Baking — better-than-supernatural fudge brownies. These brownies come together really quickly (less than 15 minutes of active labour!) and are extremely rich and fudgey. They also have that paper-thin sugar crust I love seeing on a brownie square. The book has many more recipes like this and I cannot wait to bake my way through the book. Weeknight Baking can be found at your local bookstores and online!
Ingredients
- 1 cup (8 ounces) unsalted butter, chopped into 1- 2-inch pieces
- 2 tablespoons Dutch-processed cocoa powder, sifted if lumpy
- 8 ounces dark chocolate, (between 63% and 73% cocoa), from whole fèves or a high-quality chocolate bar, hand broken into pieces
- 1 cup (4.5 ounces) all-purpose flour
- 1/2 teaspoon kosher salt
- 4 large eggs
- 1 cup tightly packed (7.5 ounces) dark brown sugar
- 1 cup (7 ounces) granulated sugar
- 2 teaspoons pure vanilla extract
Instructions
- Position a rack in the centre of the oven and preheat the oven to 350°F. Lightly spray a 9 x 13-inch cake pan with cooking spray and line with parchment paper, leaving a 2-inch overhang on the pan’s two long sides.
- Place the butter and cocoa powder in the top of a double boiler or in a heatproof bowl set over a medium, heavy-bottomed saucepan filled with a few inches of simmering water (be sure the bottom of the bowl does not touch the water). Cook over medium heat to melt the butter.
- While the butter melts, in a food processor, pulse the chocolate for a few seconds at a time until roughly chopped. Add the chocolate to the butter and cook, using a heatproof rubber spatula to stir the mixture and scrape the sides of the bowl occasionally, until the butter and chocolate have melted and combined, about 10 minutes. Set the double boiler or bowl on a wire rack and let the chocolate mixture cool while you prep the other ingredients.
- In a small bowl, whisk together the flour and salt. Set aside.
- In the bowl of a stand mixer fitted with the whisk attachment, combine the eggs, sugars, and vanilla. Whisk on low until combined, 1 to 2 minutes, using a rubber spatula to scrape down the bottom and sides of the bowl as necessary. Increase the mixer to medium and slowly pour in the chocolate mixture, aiming for the sides of the bowl as opposed to the whisk. Continue whisking on medium until the batter is smooth, about 1 minute.
- Sprinkle the dry ingredients over the batter all at once and use a rubber spatula to mix until just combined.
- Pour the batter into the prepared pan and use an offset spatula to smooth the top. Bake for 35 to 40 minutes, or until a skewer inserted into the centre of the brownies comes out with a few crumbs attached. Cool completely on a wire rack before slicing
- Run a butter knife or offset spatula along the edges of the pan and use the overhanging parchment as handles to lift the brownies out of the pan and onto a cutting board. Slice into 15 – 20 rectangles. The brownies can be stored in an airtight container or zip-top bag at room temperature for up to 3 days.
Congratulations, Michelle!
You can get your copy at your local bookstore or here!


Blurbelle says
These looks gorgeous. Would this work on a 8×8 square pan?
Roughly what is the height of your cooked brownie on your 13×9 inch pan pls?
Unknown says
What beautiful brownies you shared there ! They taste soooo good, the chocolate flavor is perfect and the texture was pretty great (I think I have overbaked it). But there is too much sugar for me. I reduced to 1/2 white sugar. And added some chopped nuts and fresh raspberries. It was insanely good. Thank you !