


Hi. Hello. Hi! How come there are not that many photos? How come the photos do not look the same as usual? Good questions. Because I took them and I tried really hard (lol!). Food Network Canada reached out to me and asked if I would be willing to create a winter-themed cake along with DIY cake toppers for a new ‘DIY Birthday Party’ feature on their website. I was so anxious about doing this piece for them because I got use to Victor taking my blog photos for me and the idea of being on the other side of the camera was still quite foreign to me. After a whole lot of baking (and stressing), I sent over the content for the blog post and it got published last Tuesday! Yay! You can see the full blog post at the link below. I hope you enjoy the recipe and the photos! Let me know what you think! I have been trying to muster up the confidence to do more photos myself so I can create more content for this blog. Yay or nay? You might have to suffer through some non-Victor (he’s the photography extraordinaire for this blog) quality photos for a while though!
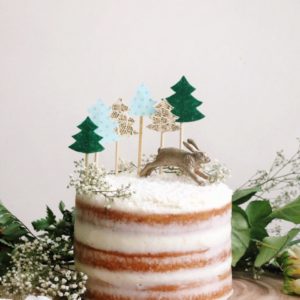
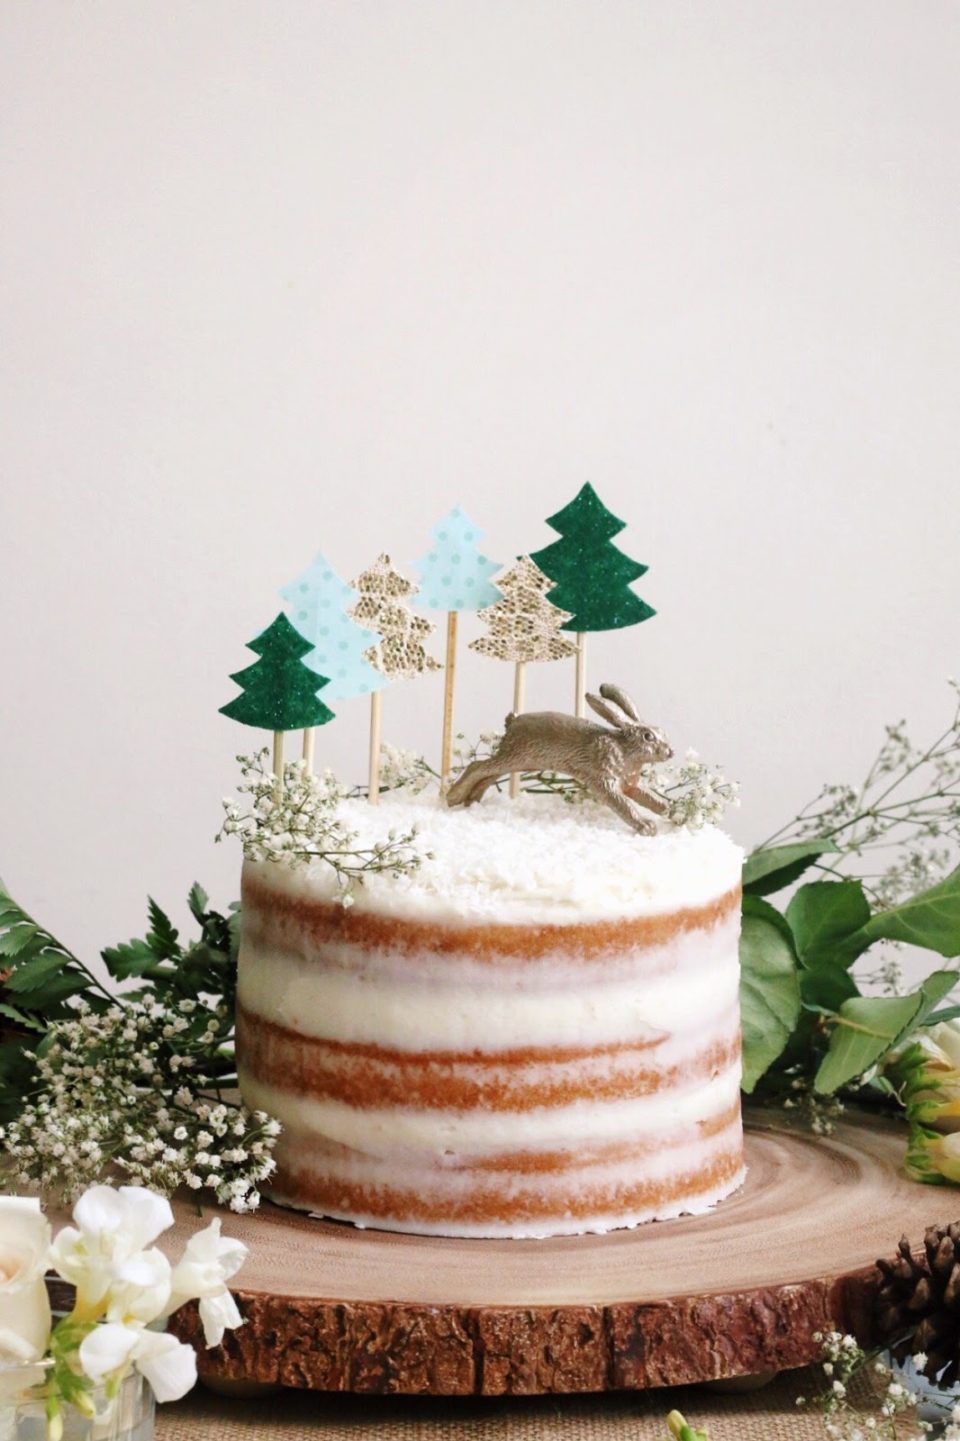
A Whimsical Winter Wonderland Birthday Party (with Food Network)
Equipment
- What you need for the Winter Wonderland Decorations
- Skewer sticks
- Assortment of felt, scrapbook paper, card stock
- Glue
- Plastic figurine
- Gold paint (non-toxic)
- Fresh flowers
Ingredients
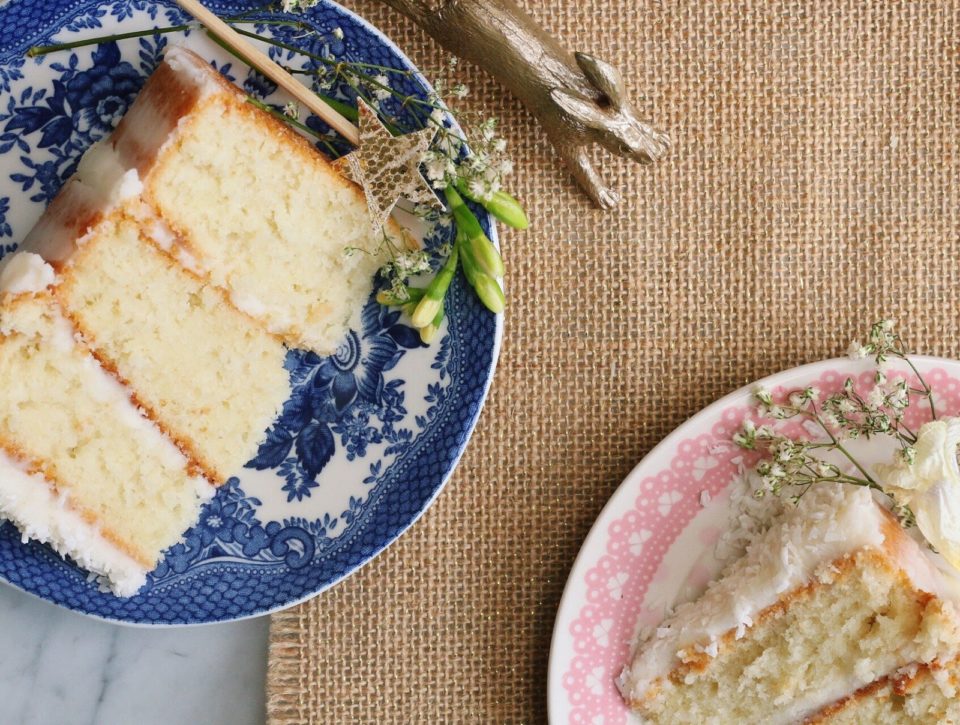
Coconut Chai Cake
- 185 g unsalted butter, at room temperature
- 1 1/3 cup granulated sugar
- 3 eggs
- 2-1/4 cup flour
- 1-1/2 tsp baking powder
- 3/4 tsp salt
- 3/4 cup unsweetened shredded coconut
- 200 ml coconut milk
- 100 ml milk
- 2 chai teabags, (~2 tbsp chai tea leaves)
Coconut Buttercream
- 227 g (1 cup) butter, at room temperature
- 3 cups icing sugar
- 3 tbsp coconut milk
Instructions
- Preheat oven to 350°F and grease the 6-inch cake pans.
- Over medium heat, let the two chai tea bags steep in the milk. Once milk comes to a light boil, remove from heat and let tea bags steep for 5-10 minutes. Once milk has cooled down, combine the milk with the coconut milk.
- In a stand mixer with a paddle attachment, cream the butter and sugar together. Gradually add in the eggs, one at a time.
- In a separate bowl, whisk to combine flour, baking powder, shredded coconut and salt.
- Add half of the dry ingredients to the butter-sugar mixture and mix on slow to combine.
- Pour in the milk and coconut milk and add in the remaining of the dry ingredients. Mix until combined.
- Divide the mixture evenly among the three prepared cake pans and bake for 33-35 minutes. Check for doneness by using a toothpick. If the toothpick comes out clean, you’re good to go! You can also test for doneness by gently pressing your finger on the cake — it should spring back up.
- For the icing, using a stand mixer with a paddle attachment cream the butter until mixture is pale in colour and fluffy. Add the icing sugar, one cup at a time and alternating between adding the icing sugar and coconut milk, beat until light and fluffy. Add more coconut milk, 1 Tbsp at a time if buttercream is too thick.


kelsey_the farmer's daughter says
Definitely YAY!!! The post looked beautiful <3 you go girl!
amy h. says
and yay to more baking dates!
Unknown says
YAY!!! for sure. We can practice your photog skills when we have our baking playdate =) This cake is gorgeous!
Shwetablog says
Nice
Muhammad Rafey says
aw